Omarchy MacBook Keys
A plugin that makes an old MacBook work like a Mac on Omarchy. Every special key does its job again, and the trackpad gets the Mac gestures.
It runs on your MacBook, not in this browser. The code is on GitHub as omarchy-macbook-keys (opens in a new tab).
Listen to this page
Why I made it
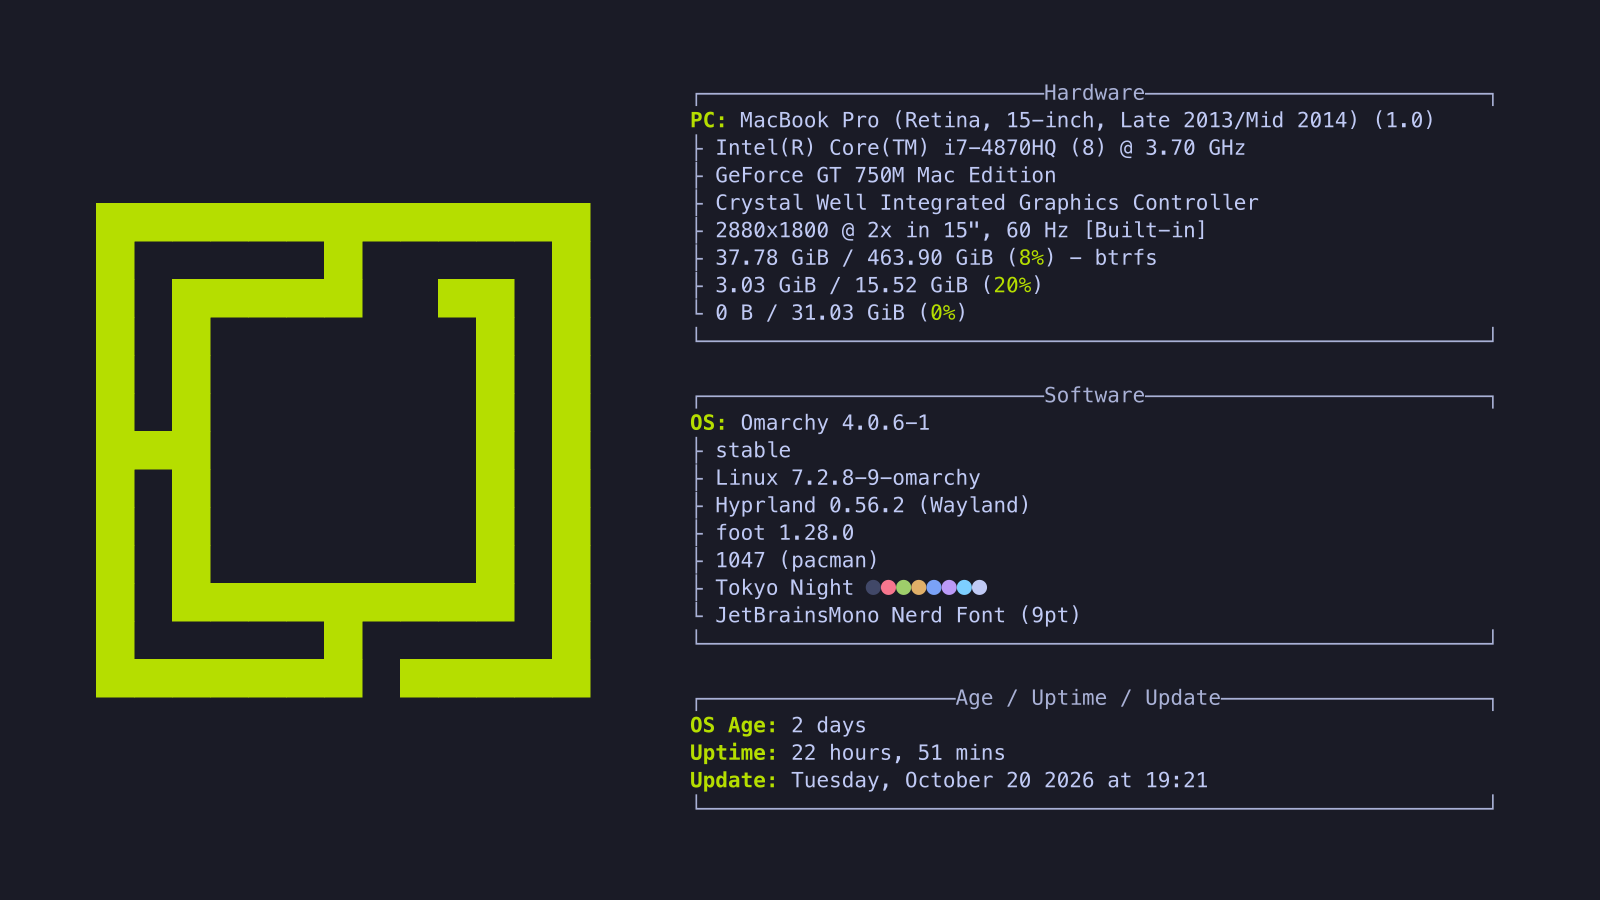
I put Omarchy, a new Linux setup built on Arch Linux and Hyprland, on my 15-inch MacBook Pro from 2014. None of the special keys worked. Brightness, volume, the keyboard light and the workspace key all did nothing.
The hardware was fine. Omarchy didn't know what this old keyboard's keys were for, so I wrote a plugin that gives each one the job it has on a Mac. Then I did the same for the trackpad.
Cheat sheet
| Key | What it does |
|---|---|
| F1 / F2 | Screen brightness down / up |
| F3 | Mission Control: all your workspaces at once |
| F4 | Launchpad: the apps menu |
| F5 / F6 | Keyboard light down / up |
| F7 / F8 / F9 | Previous / play or pause / next |
| F10 / F11 / F12 | Mute / volume down / volume up |
| fn + F1 to F12 | Plain function keys |
| Command + Q | Quit the app |
| Command + ` | Next window |
| Command + Shift + ` | Previous window |
| Command + M | Put the window away in the scratchpad |
| Command + Control + M | Bring it back |
| Gesture | What it does |
|---|---|
| Two-finger scroll | Natural scrolling: the content follows your fingers |
| Two-finger click or tap | Right-click |
| Three-finger swipe left or right | Move between workspaces |
| Three-finger swipe up | Mission Control: all your workspaces at once |
| Three-finger swipe down | Show or hide the scratchpad |
| Four-finger pinch in | Launchpad: the apps menu |
| Four-finger spread | Show the desktop: the nearest empty workspace |
| Command + three-finger pinch | Zoom the screen around the cursor |
| Three-finger drag | Switched off, because it needs the same fingers as the swipes |
Two of the gestures are there for accessibility. Command and a three-finger pinch zooms the screen around the cursor, so you can see something bigger without changing anything else. Three-finger drag moves a window or selects text without holding the trackpad down. It's included but switched off, the same as on a Mac.
Install
git clone https://github.com/mpaiva/omarchy-macbook-keys.git
cd omarchy-macbook-keys
./install.sh
The installer asks for your password for three system steps. Add
--no-hyprexpo to skip the F3 workspace view, or --no-trackpad to skip the
gestures. To take it all out, run ./uninstall.sh. It puts everything back.
Before you install
I've tested it on one machine, my 2014 MacBook Pro. It should work on most MacBooks and on Apple's own keyboards, because Linux drives them the same way, but I haven't seen it run on any of them.
The F3 workspace view is a plugin of its own, and it has to match your version
of Hyprland. After an Omarchy update, F3 stops working until you run
hyprpm update.